
How to Save a Life
By: Nia Braccidiferro

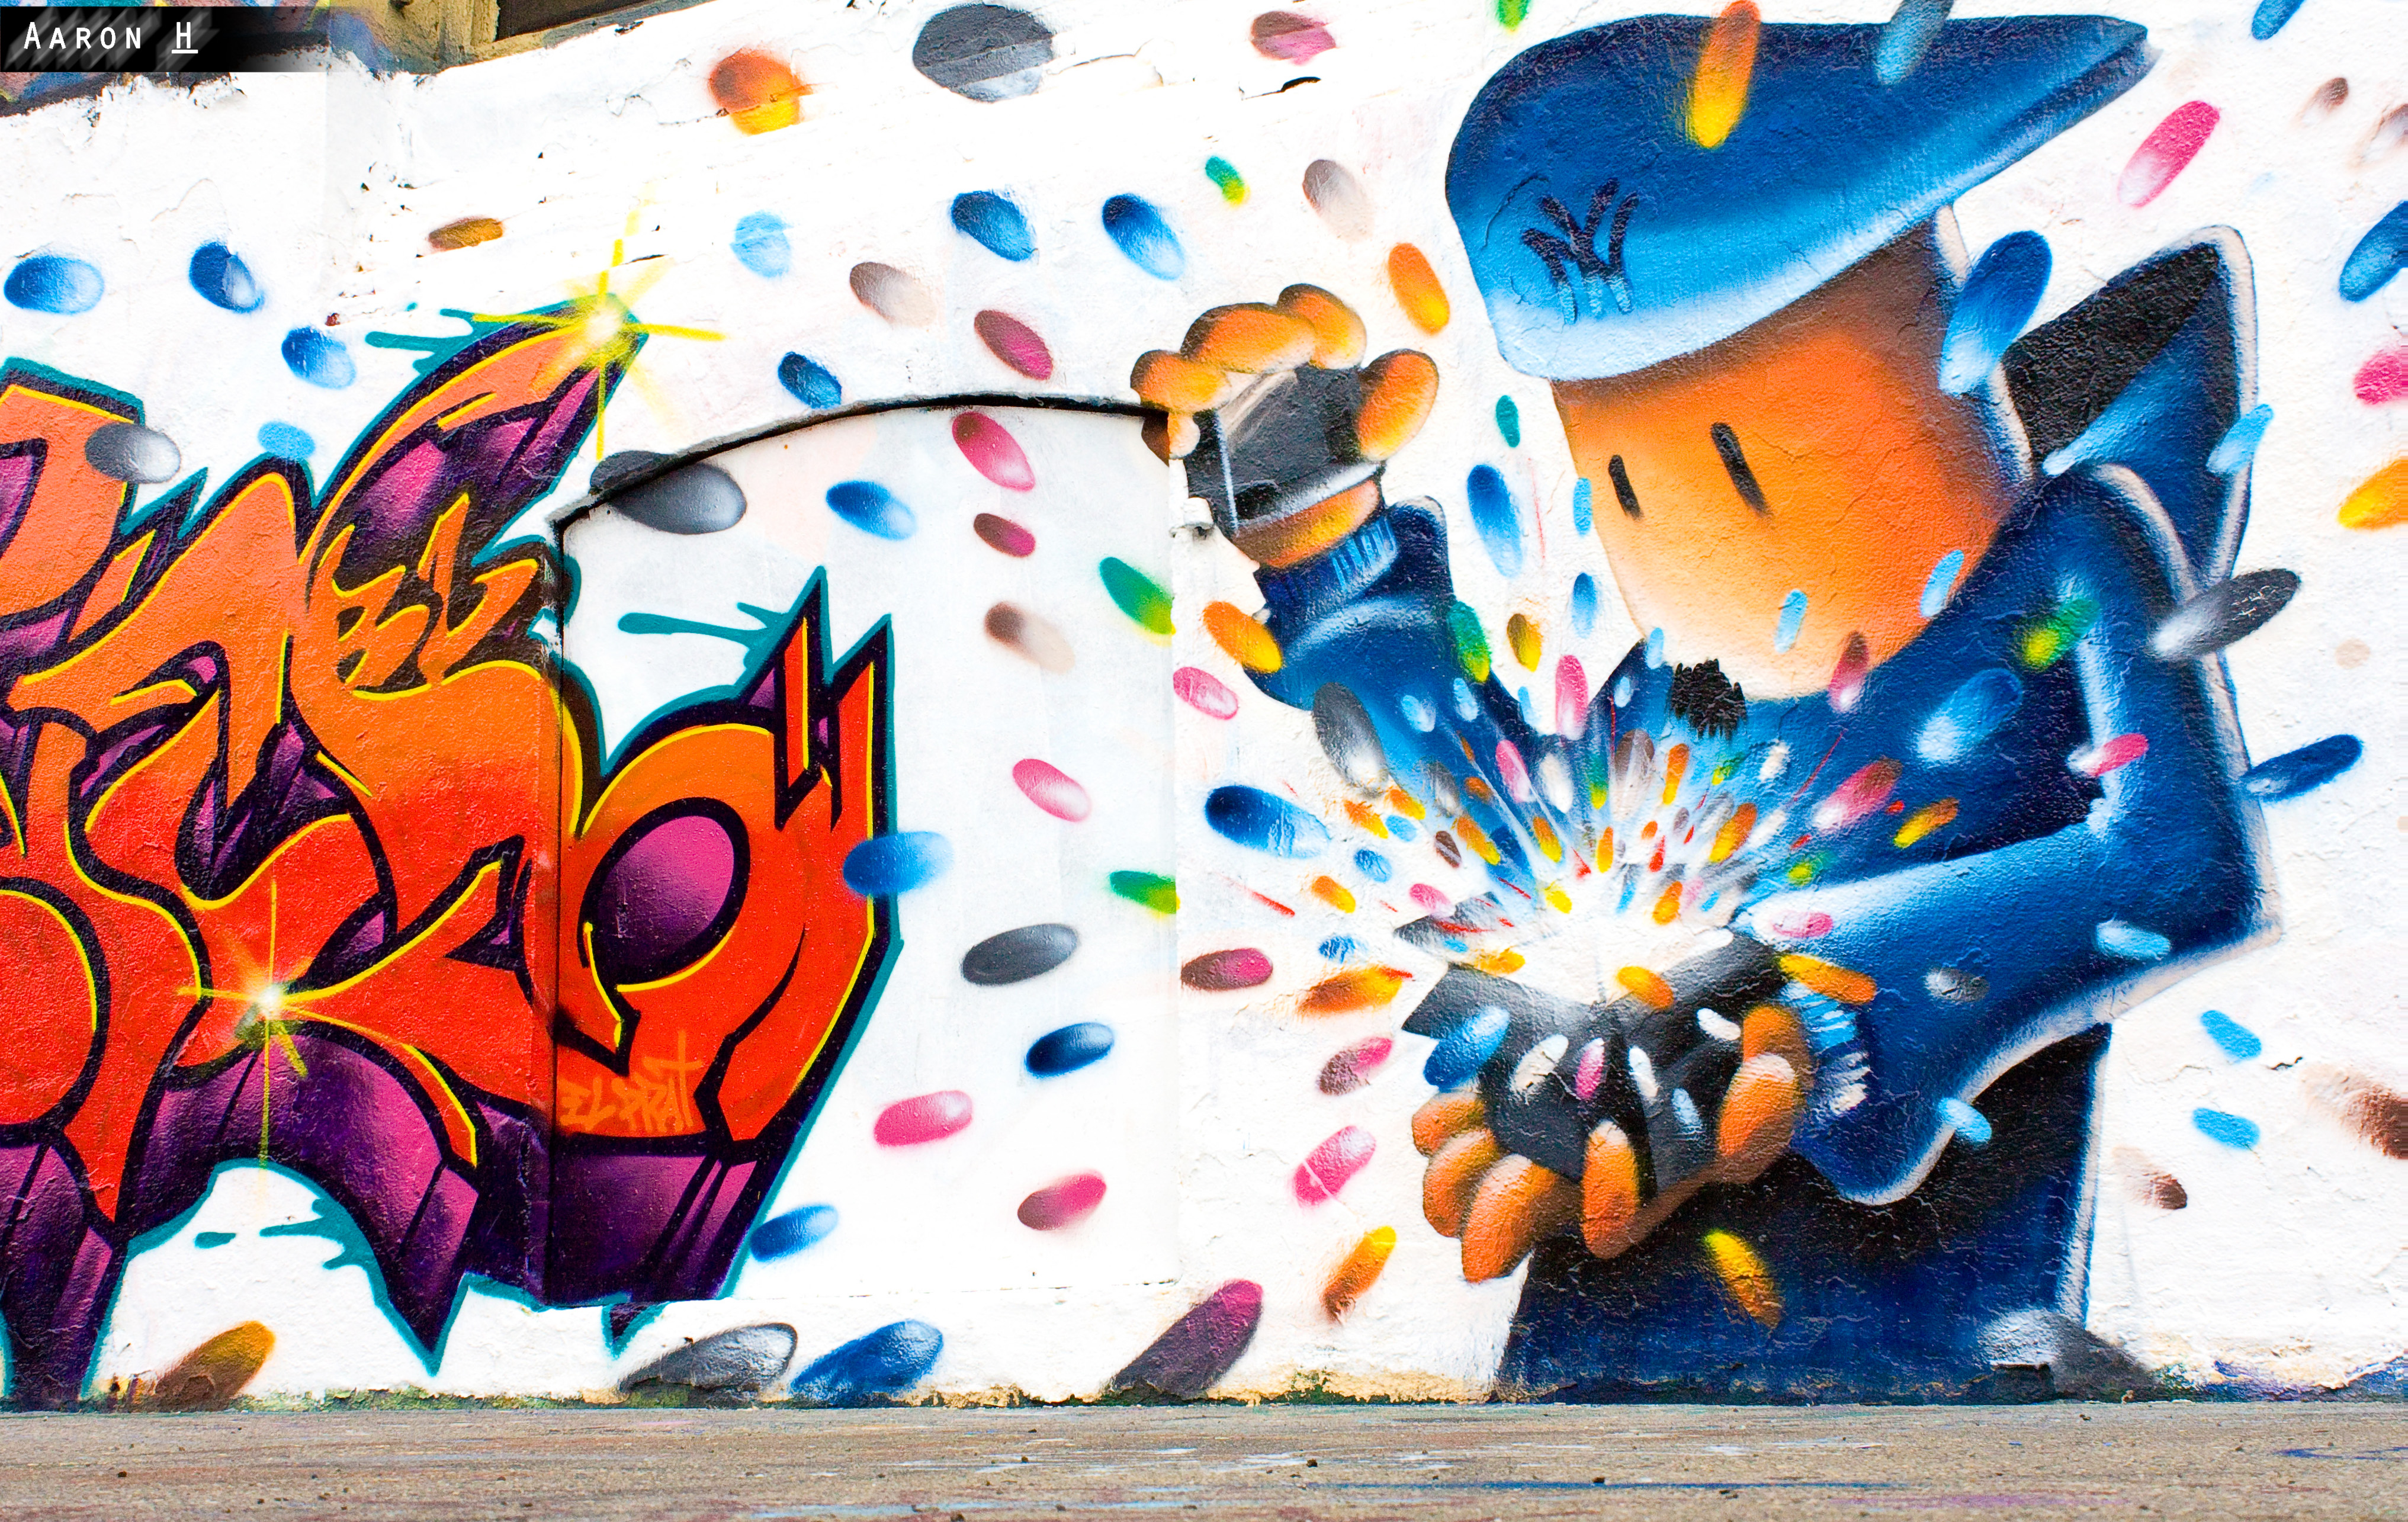
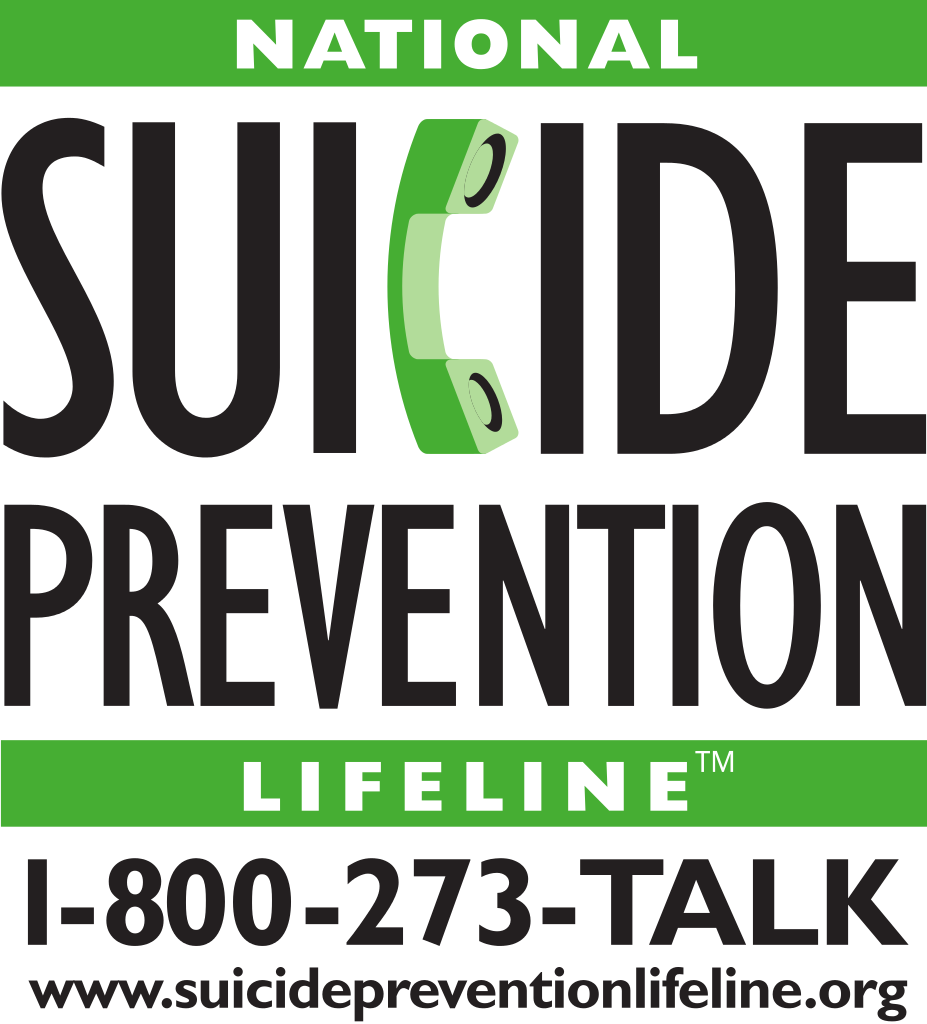
When I was first assigned this project, I didn’t know what I wanted to create. I had a few ideas but nothing I was truly passionate about or excited to make into a reality. Then when I began looking through the other student models, I got inspired. I knew I wanted to make a poster to promote the Suicide Lifeline in America since that topic hits very close to home for me. I have gone through struggles that were along those lines and if I saw a poster like mine, it would’ve helped me a lot. When I found my inspiration, I started looking online for photos to use. I made sure they were free to use and a large size. I found pictures of an underground subway stop, a boy sitting, a boy with shoes (since the first boy didn’t have any), colorful graffiti, a picture of someone alone, a noose and scattered medication. I created a new Photoshop document that was 11 x 17, RGB Color and 150ppi. I started by placing the subway picture on top of the background. I then placed the graffiti on top. I used a layer mask to erase certain parts that didn’t match the subway background and changed it to Multiply to add depth and make it look realistic. I added the picture of the boy and used the Quick Selection tool to delete the background around him. I added a drop shadow, inner shadow, and satin layer to create a more believable light effect. I also added two more clipping mask layers of white and black brush strokes to enhance the shadows. I then added a picture of a boy sitting and masked his shoes because the original picture of the depressed boy sitting didn’t have any shoes. I used the puppet warp tool to make sure the fit around his feet and looked like they belonged there. Once I did that, I replaced all of the blue colors in the boy’s outfit with black and lowered the saturation, I did the same with his shoes. I wanted to create a contrast between the boy’s outfit and thoughts and the outside world since he is colorless and the graffiti and the subway is colorful, but he can’t see it because he’s trapped in his own head. I added a picture of a raincloud with rain droplets falling on top of the boy’s head. I added three clipping masks on top of it, each with a different picture. One was of a lonely person, another was of a noose and the last one was of medication. I manipulated the colors of each one to lower the saturation and increase the contrast to make them look darker and more depressing. I used the Patch Tool and Spot Healing Brush Tool to remove a broken bottle next to the boy on the subway and a few holes on the platform. I also used it to erase the part of the sign that said Broadway, since it was a bit too distracting. Lastly, I added a contact number, company name, and logo. I also filled in a box at the bottom with one of the colors from the logo to bring the poster together. I typed up a slogan and added a drop shadow and bevel/emboss to it to bring it out from the background. I am very proud of how this piece turned out since, in the beginning, I didn’t know where I was going with it. I brought together all of the techniques I was taught to create a poster that can help millions across the nation.